How to Bake Bread Dough in the Oven
Here’s some general advice on how to bake bread machine dough in the oven.
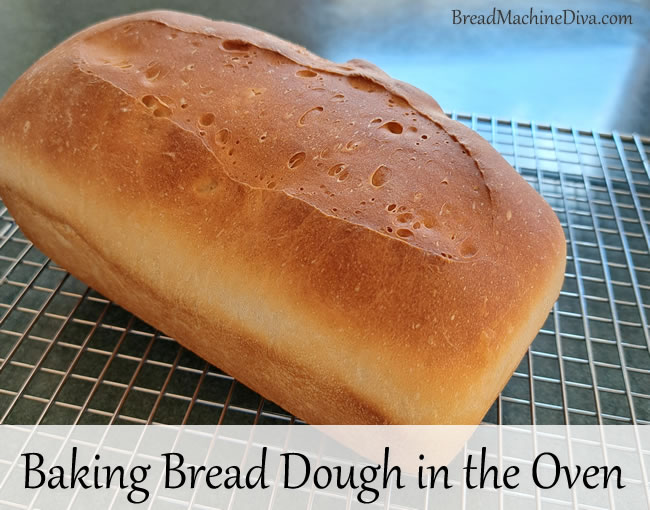
How to Bake Bread Dough in the Oven
Last updated August 25, 2025 – Originally posted November 26, 2024
When I tell people that I use a bread machine to bake my bread, that’s exactly what I do! I love the convenience of having the machine mix and bake the bread for me.
However, some people would like to use their bread machine to create the dough and then bake the bread in the oven. So here’s some general advice on how to bake bread machine dough in the oven.
Reasons for Baking Bread in the Oven
One reason people may choose to bake bread in the oven is that their machine doesn’t have a horizontal bread pan. Most bread machines have a vertical pan, so the bread is actually cooked on its side.
Horizontal bread pans produce loaves that are more traditional in shape, similar to what you would find at a bakery or grocery store. The loaf has a longer, rectangular form. Most people also find the bread easier to slice if it comes from a horizontal pan.
Some people don’t like the holes left in the bread by the kneading paddles. These holes make the bread slices less uniform. If giving the loaf as a gift, it’s nicer to not have to explain why there are holes in the bottom of the bread.
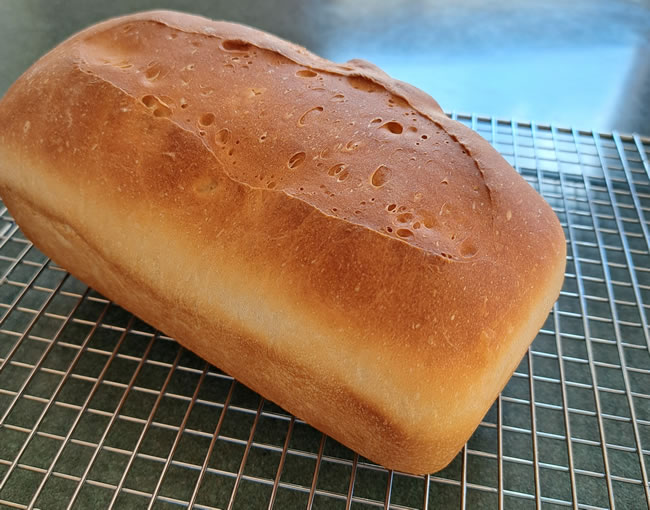
Another reason people may prefer baking their bread in the oven after using the bread machine for the dough is the quality of the crust. Bread baked in the oven can have a crisper, browner crust.
Bread Machine Cycles for the Basic Setting
Let’s start by looking at how the bread machine works. Here’s a general description of the cycles the bread machine goes through to make a loaf of bread using the basic or white setting.
Again, this is a high-level, general overview. There are a lot of different bread machines. Those machines may have different settings, have different names for the same cycle or have different numbers of rises depending on the bread machine setting.
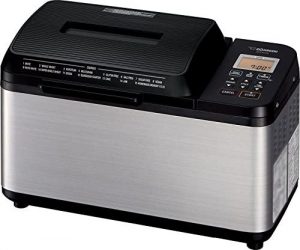
Rest Cycle – Not all machines have this cycle. Zojirushi bread machines do, although the older machines call it the Preheat Cycle. This cycle’s job is to stabilize the temperature of the ingredients. It will warm the liquids and soften butter.
Knead Cycle – This cycle mixes the ingredients and then kneads the dough. So, what does kneading do? The dough is physically worked to develop the gluten in the flour. The gluten network is the framework that supports the dough, enabling it to expand and develop the structure necessary for baking bread.
First Rise Cycle – During this cycle the dough significantly expands as the yeast becomes active and starts to feed on the sugars in the dough. This produces carbon dioxide gas, which causes the dough to rise and expand. Also, the gluten network continues to develop, giving the dough its structure and elasticity.
Punch Down Cycle – This is sometimes called a Stir Down Cycle. The dough is deflated to release trapped gas. It also prepares the dough for the second rise.
Second Rise Cycle – Most bread recipes call for two rises. This rise helps improve the final texture and volume of the bread.
Second Punch Down Cycle – Some machines only have two rises. If there are only two rises, then the second punch down cycle isn’t needed.
Third Rise Cycle
Bake – The bread machine heats up and bakes the dough. As the dough heats up, it undergoes a process called oven spring. The dough rises rapidly because of the expansion of gas bubbles trapped in the gluten network. This is followed by the dough settling into its final shape.
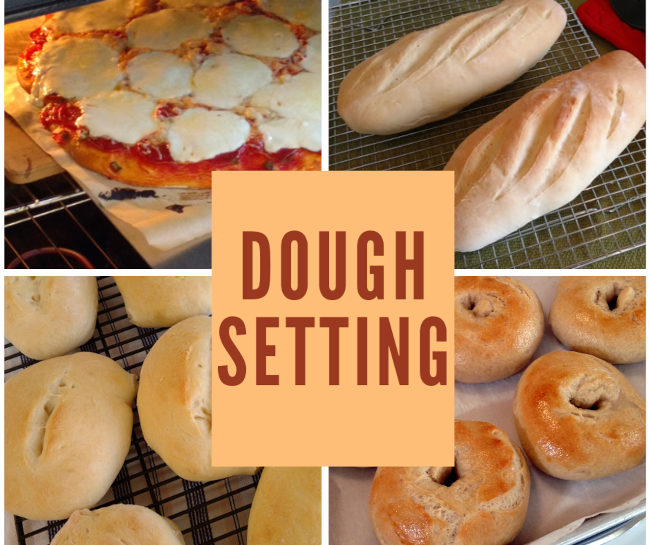
Note that this article address making bread in the oven. If you’d like to make hoagie rolls, dinner rolls, bagels and more, check out the dough setting area of my website. All of those recipes have complete instructions for making those recipes in the oven.
Keep in mind that these are general instructions for baking bread machine dough in the oven.
Use dough setting of your machine. This usually takes the dough through the second rise.
For a 2-pound machine, you’ll need two 9×6 inch loaf pans. Spray pans with cooking oil.
On a lightly floured surface, punch the dough down to get rid of air holes. Separate the dough into two equal balls of dough.
Shape each dough ball into a flat rectangle. You’ll want the dough to be as long as your bread pan and about 1/2 to 3/4 inches thick. Roll the dough up jelly-roll style. Pinch all the edges tight.
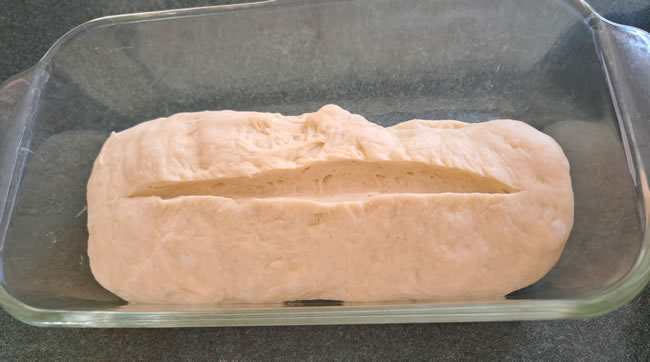
Place the dough into the greased pans, with the seam at the bottom. Flatten the dough a little and push it into the corners. This doesn’t need to be perfect; you’re just helping the dough make a better-looking loaf when baked.
Use a lame to slit the top of the dough. Cut it in the center, leaving about 1 inch uncut on each end. The slit should be about 1/2 inch deep.
Cover the pans with a lightweight kitchen towel.
Let the dough rise for 45 minutes to 1.5 hours. Your recipe, the ambient temperature and humidity will all affect the rise time. The dough should be a little above the top of the pan. However, taller is not better. If the dough is more than an inch above the edge of the pan, it may collapse while baking.
Remove the towels and place the pans into a preheated oven.
The temperature of the oven will depend on the type of bread that it is. One hint is to look for a recipe similar to the one you’re using, but not designed for a bread machine. The time and temperature for those recipes should help you figure out what to do.
In general, many breads will do well with a 350º oven with a cooking time of 30 to 45 minutes. (start checking the bread after 30 minutes)
The crust should be firm and brown.



If using the breadmachine for oven bread, when should other flavors, cheese, nuts, cranberries, etc, be added?
Thank you for your wise help.
John Hastings
Great question! Many machines, including my Zo, have an “add beep” that signals it’s time to add extra ingredients. Try that first. However, I haven’t had much luck with the add beep as things don’t get mixed in fully. So I add the extra ingredients right at the beginning with the flour.
Ditto, Heather!!
Marsha is my go-to for all things bead machine. It’s through this site that I finally (!) realized why my bread wasn’t rising…not enough active dry yeast! She explained it perfectly and now I have risen loaves.
I’ve always wondered just HOW to bake a bread machine loaf and, voila’! Here is the info. I did try a gluten-free Focaccia last week and it bombed…didn’t rise. Now, I know why. I didn’t knead it enough. I’m going to try it again with regular flour in the machine, then bake it.
Oh, and the eggnog cranberry loaf was a real hit with TMOTH, for whom I make most of the bread. Will be doing this one again this coming week. All in all, always fun and an adventure.
Thanks to Marsha! 😘
Oh my gosh! Thanks so much!! Yes, making bread is always fun and an adventure. So much to learn and so many recipes to try. 🥰
Thank you for all these great tips. You have become my “go to” source for anything “bread machine”. I have a KBS machine, so I like to bake my bread in the oven so it looks more like a store bought loaf. I guess I missed out on some of the steps you have provided. I’m certainly going to follow your instructions tomorrow morning. Can’t wait to see how they turn out this time. Looking forward to more of your tips!!
Thanks so much for your kind words!!